

There has been a debate since the beginning of serious digital photography: Should you shoot in RAW or Jpeg? I personally choose based on the final goal of the image. If I am shooting a serious landscape, or other image where I know I am going to do additional post processing in Lightroom later (see the previous tip), then I shoot in RAW. If I am shooting my kids birthday party for my wife to use for scrapbooking, I shoot in Jpeg. But why the difference? First we have to understand what the practical difference is between RAW vs JPEG.
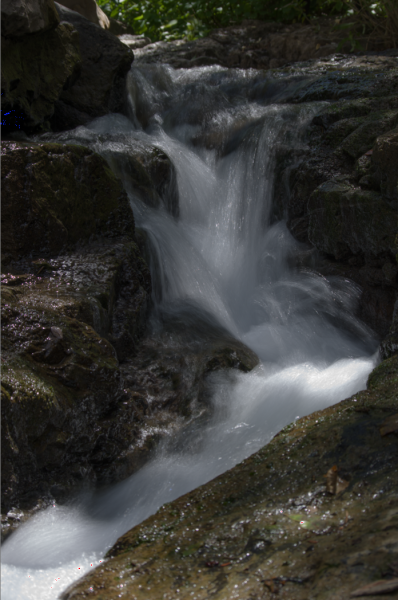
For this example I shot two copies of the same image with the same camera settings (1/8 sec, f/11 and ISO 100), one in RAW and the other in Jpeg format. I then loaded them in to Lightroom, and switched to the develop module. Once in the develop module, I activated the shadow/highlight warning (hit the letter “J”). The highlight warning is indicated by the red and the shadow warning by the blue. It is interesting to note that the Histogram and the blinking highlights/shadows displayed on the camera were *almost* identical for both shots. This is because most cameras use the embedded Jpeg image in the RAW file to generate the histogram and the blinkies.
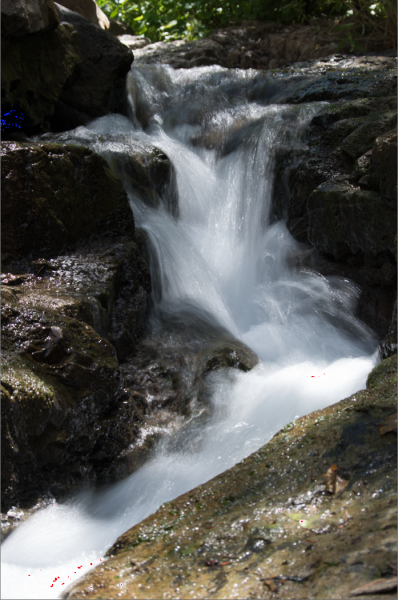

As you can see there are quite a few highlights that have been “clipped” in the Jpeg version. This is due to the processing of the camera to convert the 12-bit RAW file to an 8-bit Jpeg as well as the “look” that is programmed by the manufacturer. What this means is that detail is lost in the Jpeg version that can never be recovered. The alternative is to shoot RAW, but for some photographers they don’t want to spend time in post processing. You can attempt to underexpose to preserve the highlights, but then you will have to do some post processing to boost the shadows, and you will still have less data than you would if you shot it in RAW. How much data is actually lost? Take a look at this comparison:
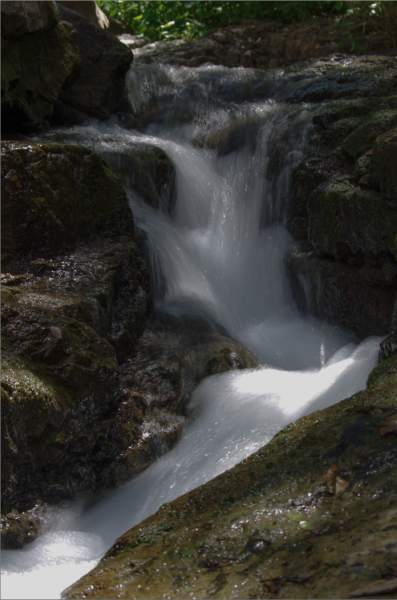
As you can see, when the Jpeg is processed the highlights have no detail at all, while the RAW file still maintained quite a bit of detail. This is an extreme example but the point is, if you plan to post process, you have more to work with when you shoot RAW.
But is RAW right for every situation? That will come down to personal preference. If I am shooting sports, I usually will shot those in Jpeg since the buffer on digital cameras can shoot more Jpeg images than RAW images before the camera slows down to finish processing the burst. If I am shooting The bride and groom’s formal pictures, I will shoot those in RAW, but the reception images that will likely be printed 5×7 or smaller (or only posted on Facebook, etc), I might shoot those in Jpeg to save time later.
RAW is awesome, but remember a few other things. With great power comes great responsibility. If you plan to process your images, make sure your computer screen is calibrated. Otherwise, your pictures may look great on your screen, but when you order prints you may find that your images have color and contrast that don’t look at all like they did on your screen. Walk into any retailer that sells TV’s and notice the color difference between the different models. The same thing happens with computer screens. Every manufacturer builds their screens to have a certain “look” that they prefer. For best results, use a good quality calibrator such as the Datacolor Spyder4Pro S4P100 Colorimeter for Display Calibration. This device will help to ensure that your screen is neutral in color and contrast so that your final results will be closer when you go to print.
But don’t take my word for it. Try it with your camera. Set it to the RAW + Jpeg mode, take a few pictures, then load them into your image editing software of choice and see the difference. This is an important detail every photographer should know about their camera since it will help you to better make the choice if RAW is right for you.